
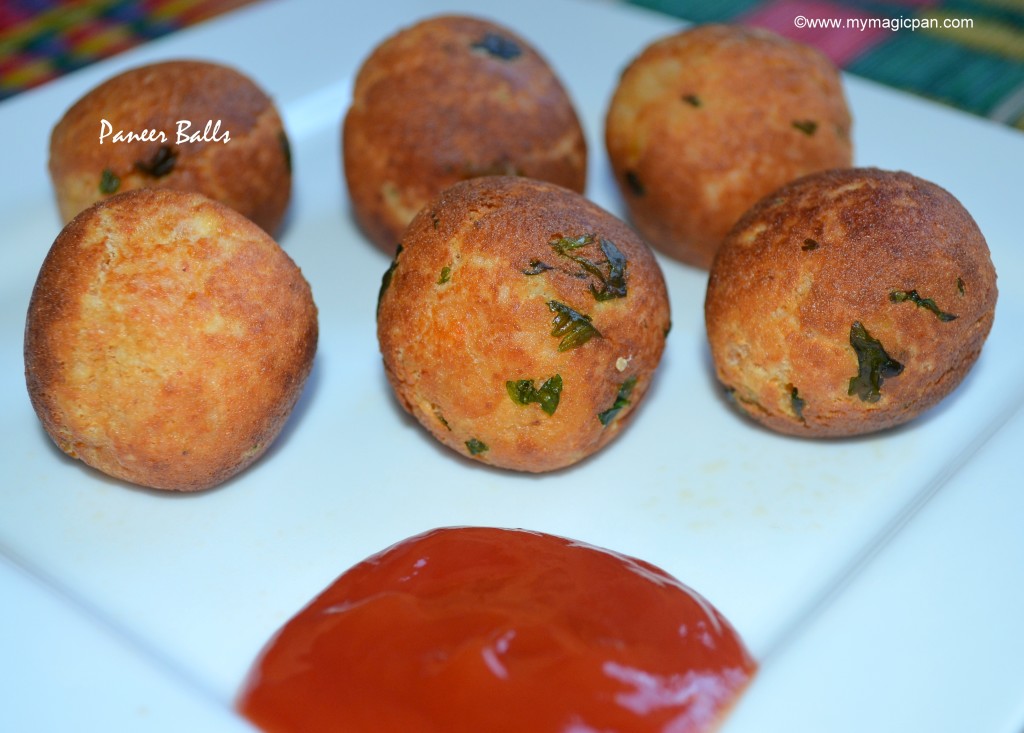
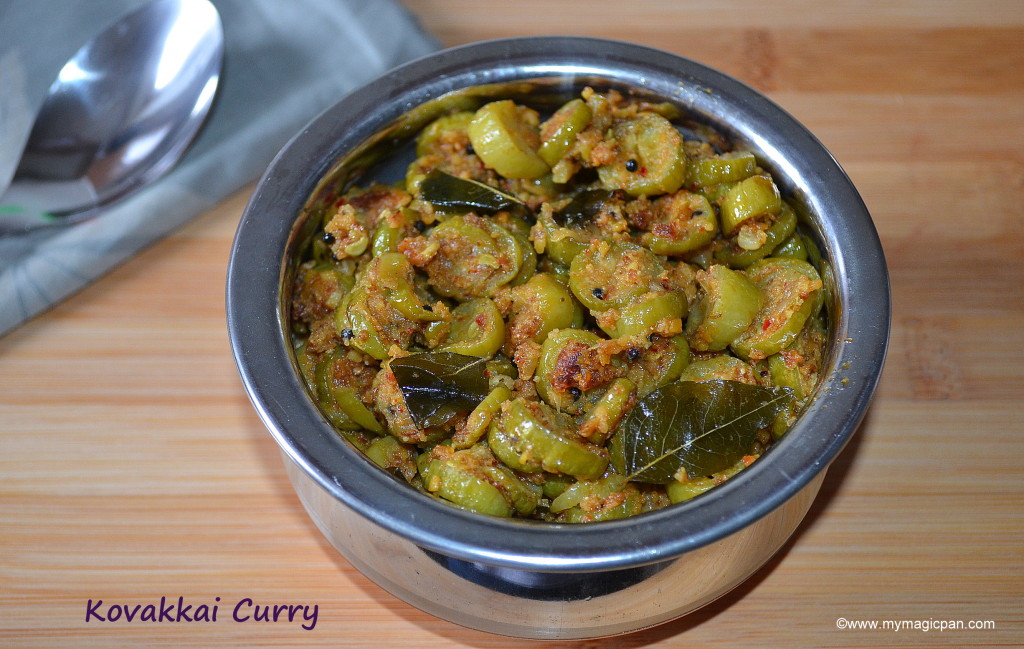
Rice Varieties
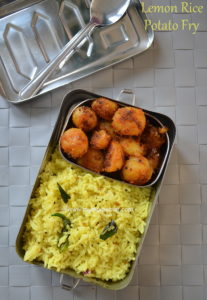
Gravy Recipes

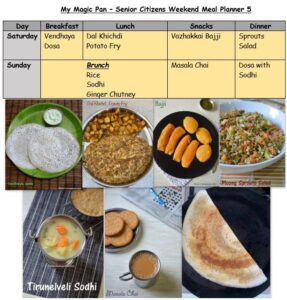
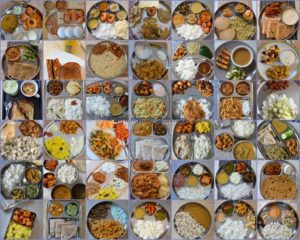
Senior Citizen Meal Planner
40+ LUNCH MENU/LUNCH IDEAS TO CHOOSE..
Click to follow my_magic_pan Instagram

-
Mor Kuzhambu with Vadai – Mor Kuzhambu
February 16, 2017
 Kuzhambu Varieties, Tirunelveli Style Recipes
-
Mor Kuzhambu or Butter Milk Kuzhambu is an easy and quick kuzhambu that most of u might know. Just sharing here, my version of it. Vegetables that can be added include okra, chow chow or poosanikai. Paruppu Vadai with Mor kuzhambu is a special and perfect combination. This goes well with steamed rice and paruppu usili or potato fry or seppankizhangu fry. I make it with vadai when time permits, else with veggies. Both tastes good. If nothing is available, I make it as a plain kuzhambu and temper it with vadagam too.
Now to the recipe…

[Preparation Time-10 mins : Cooking Time-15 mins]
Mor Kuzhambu Ingredients:
- Curd – 2 cups
- Turmeric powder – 1/4 tsp
- Asafoetida – a generous pinch
- Salt – as needed
- Curry leaves – a sprig
- Coriander leaves – a handful
- Oil – 1 tbsp
- Mustard Seeds – 1 tsp
- Urad dal – 1 tsp
- Fenugreek seeds – 1/4 tsp
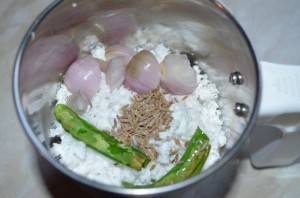
To grind to a paste
- Grated coconut – 1/4 cup
- Shallots – 3-4 nos
- Green chillies – 2 nos (See tips)
- Cumin seeds – 1 tsp
CLICK HERE FOR PARUPPU VADAI RECIPE:

Method:
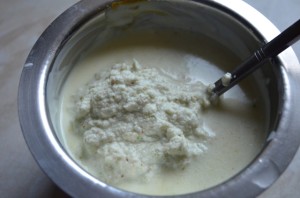
- Whisk curd to avoid any lumps. Add salt, turmeric powder, asafoetida and mix. Keep aside. In a pan roast green chillies with very little oil ( in low flame) till u get a nice aroma from it. U can also see the change in the colour of its skin. Grind this to a smooth paste along with the other ingredients mentioned in “to grind”.
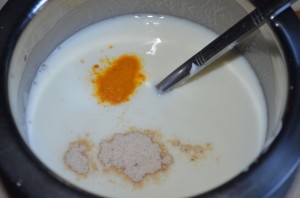

- Mix the ground paste along with the curd mixture.Throw in the curry/coriander leaves. Add required salt. Start heating the curd mixture in low flame, keep stirring continuously. It should not boil. U can see the sides of the kuzhambu getting frothy. At this stage switch off the flame. In a pan add 1 tbsp of oil and temper with mustard, followed by urad dal and fenugreek seeds.

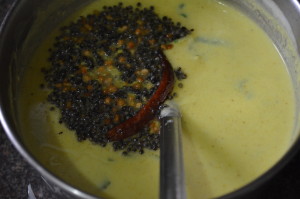
Mor Kuzhambu is ready. Serve hot with steamed rice.
I made the paruppu vadai first and then let it soak in the kuzhambu for about 10-15 mins before serving.

Half of my vadai’s went into the mor kuzhambu and half as a tea time snack 🙂
Tips:
- The most important point to note is “Do not boil the Mor Kuzhambu”. Keep stirring and switch off when it is about to boil. Else it will curdle.
- The green chillies u need to add depends upon the sourness of curd. Higher the sourness – the more number of green chillies u need to add. Mine was not much sour, so added only 2 green chillies.
- Add the vadai’s before serving, else they will absorb most of the kuzhambu and also will become very soggy.
- We are adding salt in 2 stages – One in the vadai’s and another in kuzhambu. So add accordingly.
PS: Post updated with new pics 16/2/17

– By Sundari Nathan


Sundari
Your Culinary Skills are slowly coming out, one by one,
Mor Kuzhambu:
My favourite dish, I like it with Vendaikkai, poosanikkai, Seppankizhangu, Vadai,.
Keep the Dishes coming.
You can open a Michelin star Cookery class.
Mysore Pagh super
Vijayan
Thank u very much Vijayan Anna!!
I love it.. Mor kuzhambu is my best side for rice or idli
Nice post dear
This dish sounds like a similar South Indian version of kadhi pakora. Loving it. 🙂
lovely colour… I totally enjoy morkuzhambu everytime
looks very delicious